What are you looking for?
Get help straight from our team.
Population management
Managing patient groups with added resources
Discover how to include resources for a specific group of patients you've filtered
Updated 1 week ago
Once you've filtered your patient list, you can do more by providing resources (documents or information such as websites, referrals and contact information) to this group. This new feature lets you efficiently support and manage this specific group of patients. It's a step beyond just organizing them – now you can provide targeted support all at once.
Follow these steps to perform a group action:
Click on the 'Population Management' tab on the top panel.
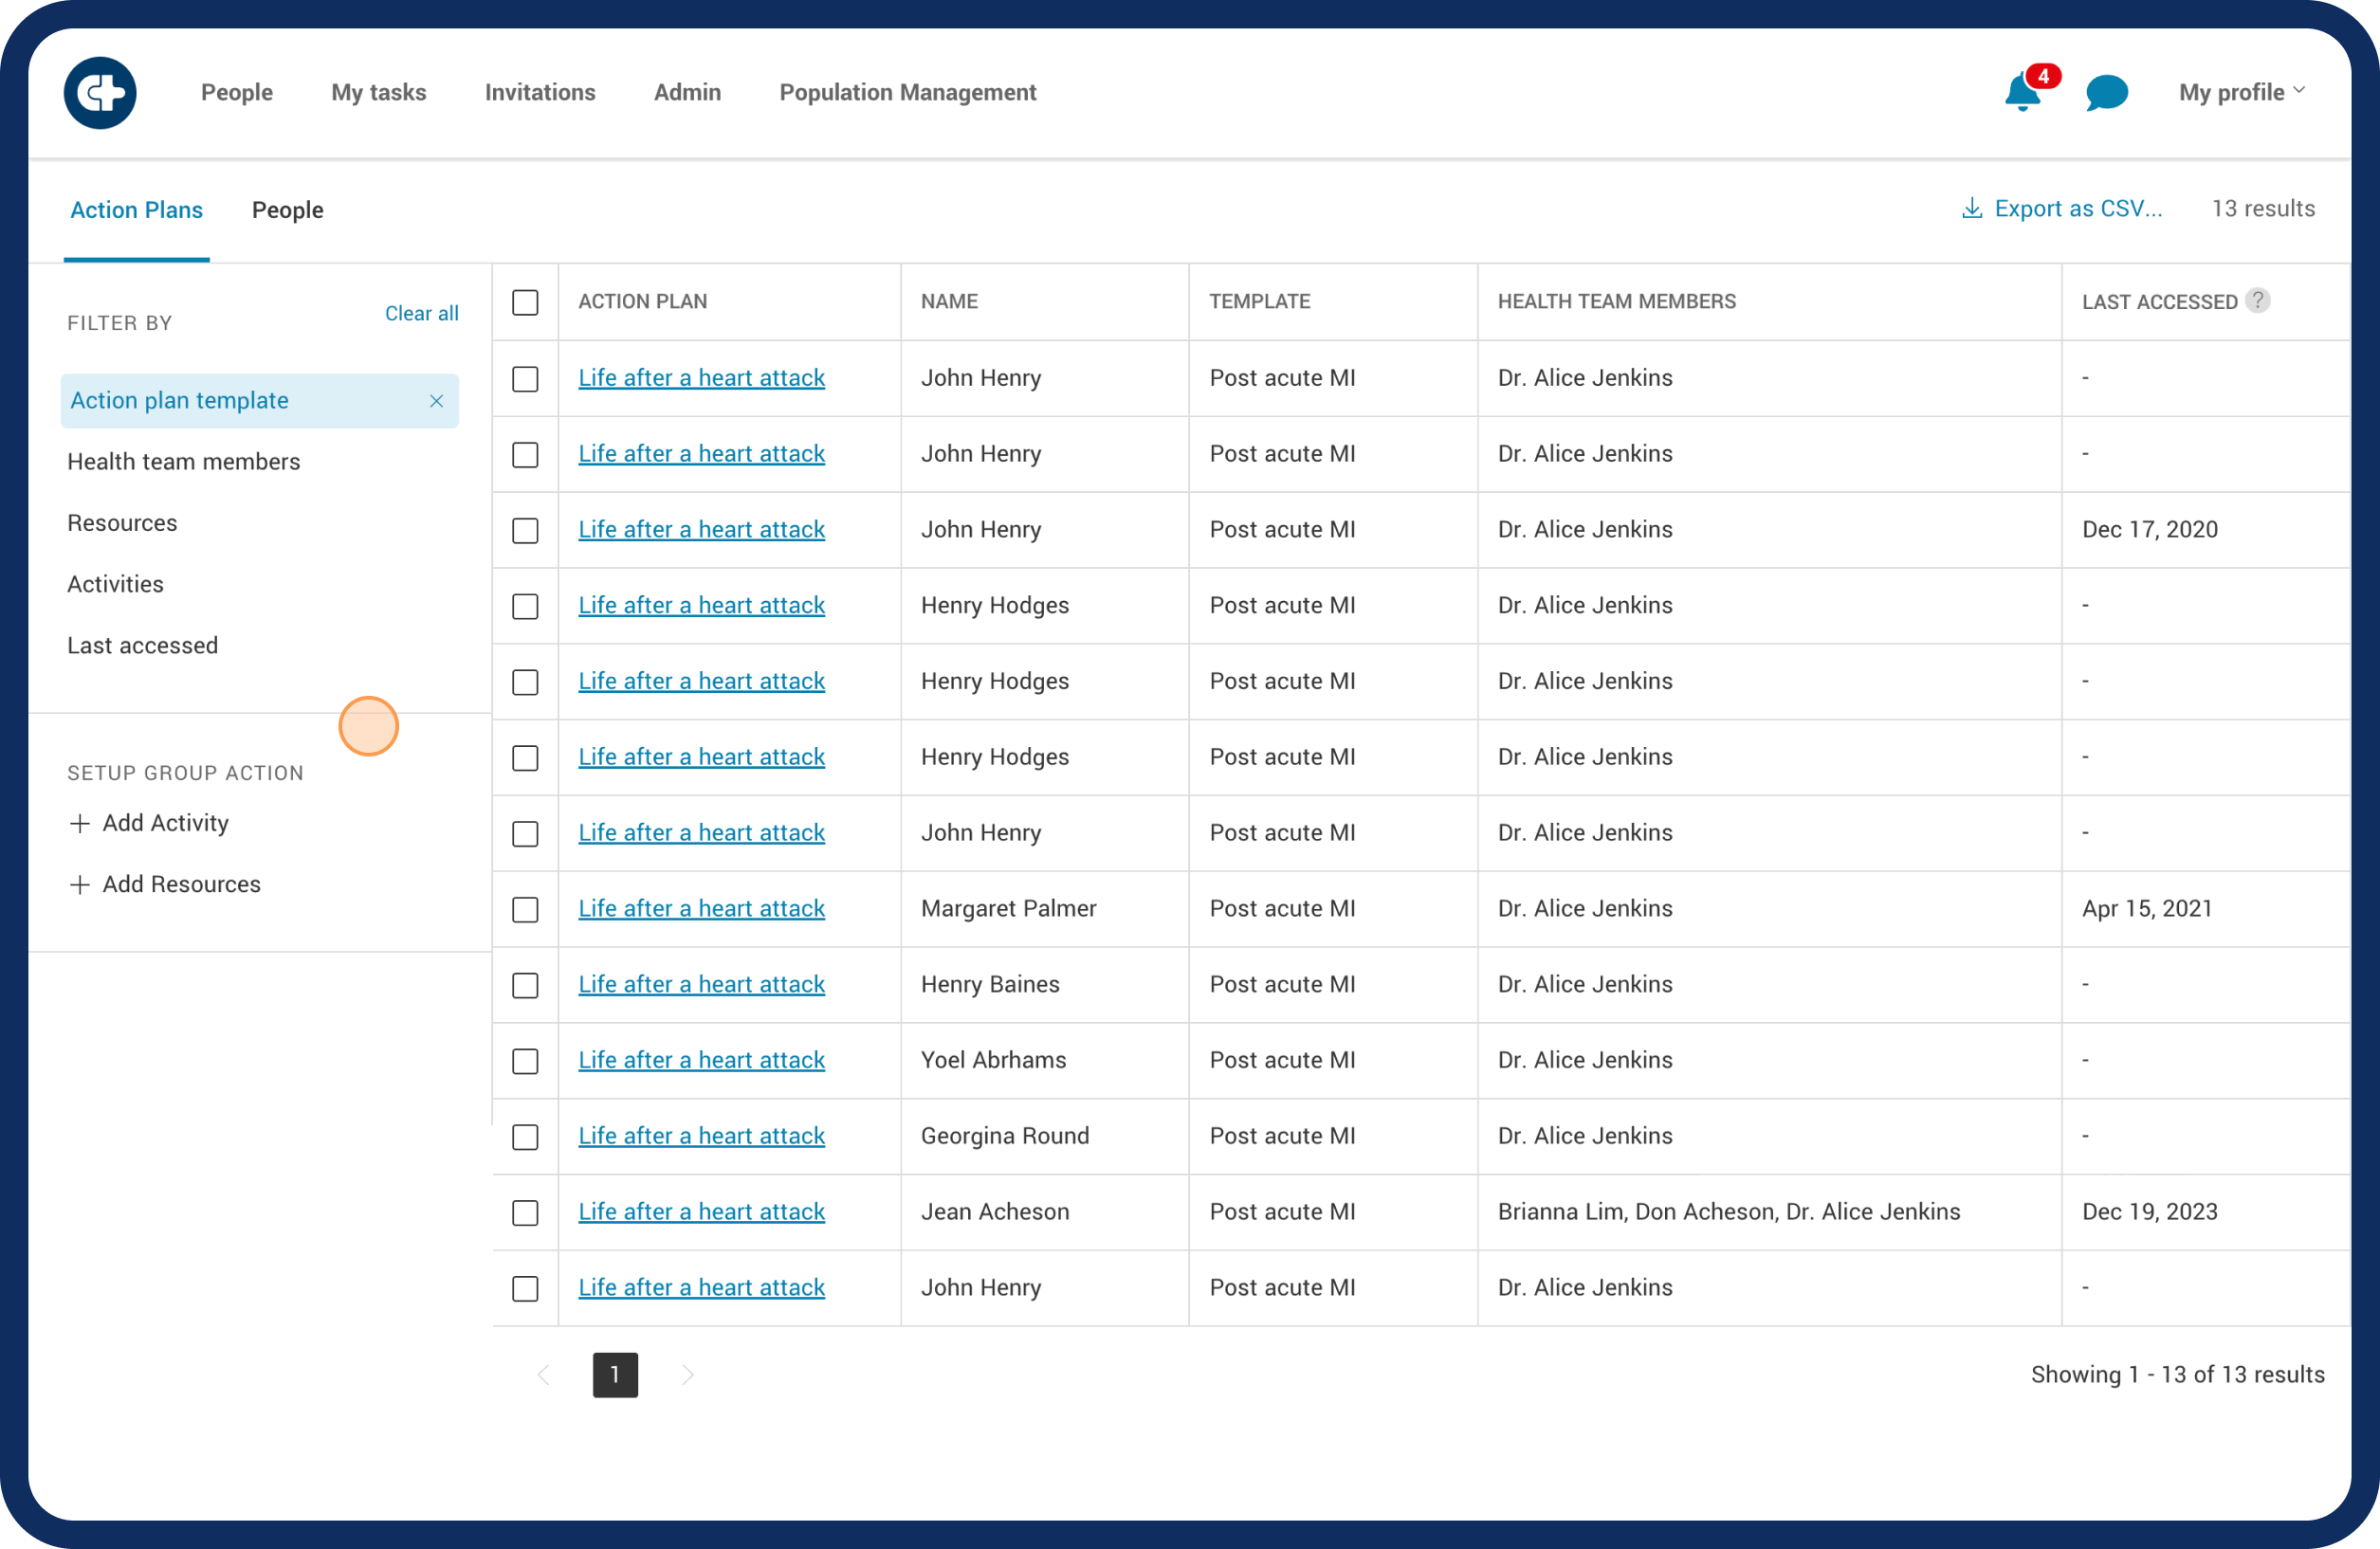
Choose filtering the patient list by ‘Action Plan’.
Filter the patient list you want to focus on. If you need help with filtering, check out our article on filtering for guidance.
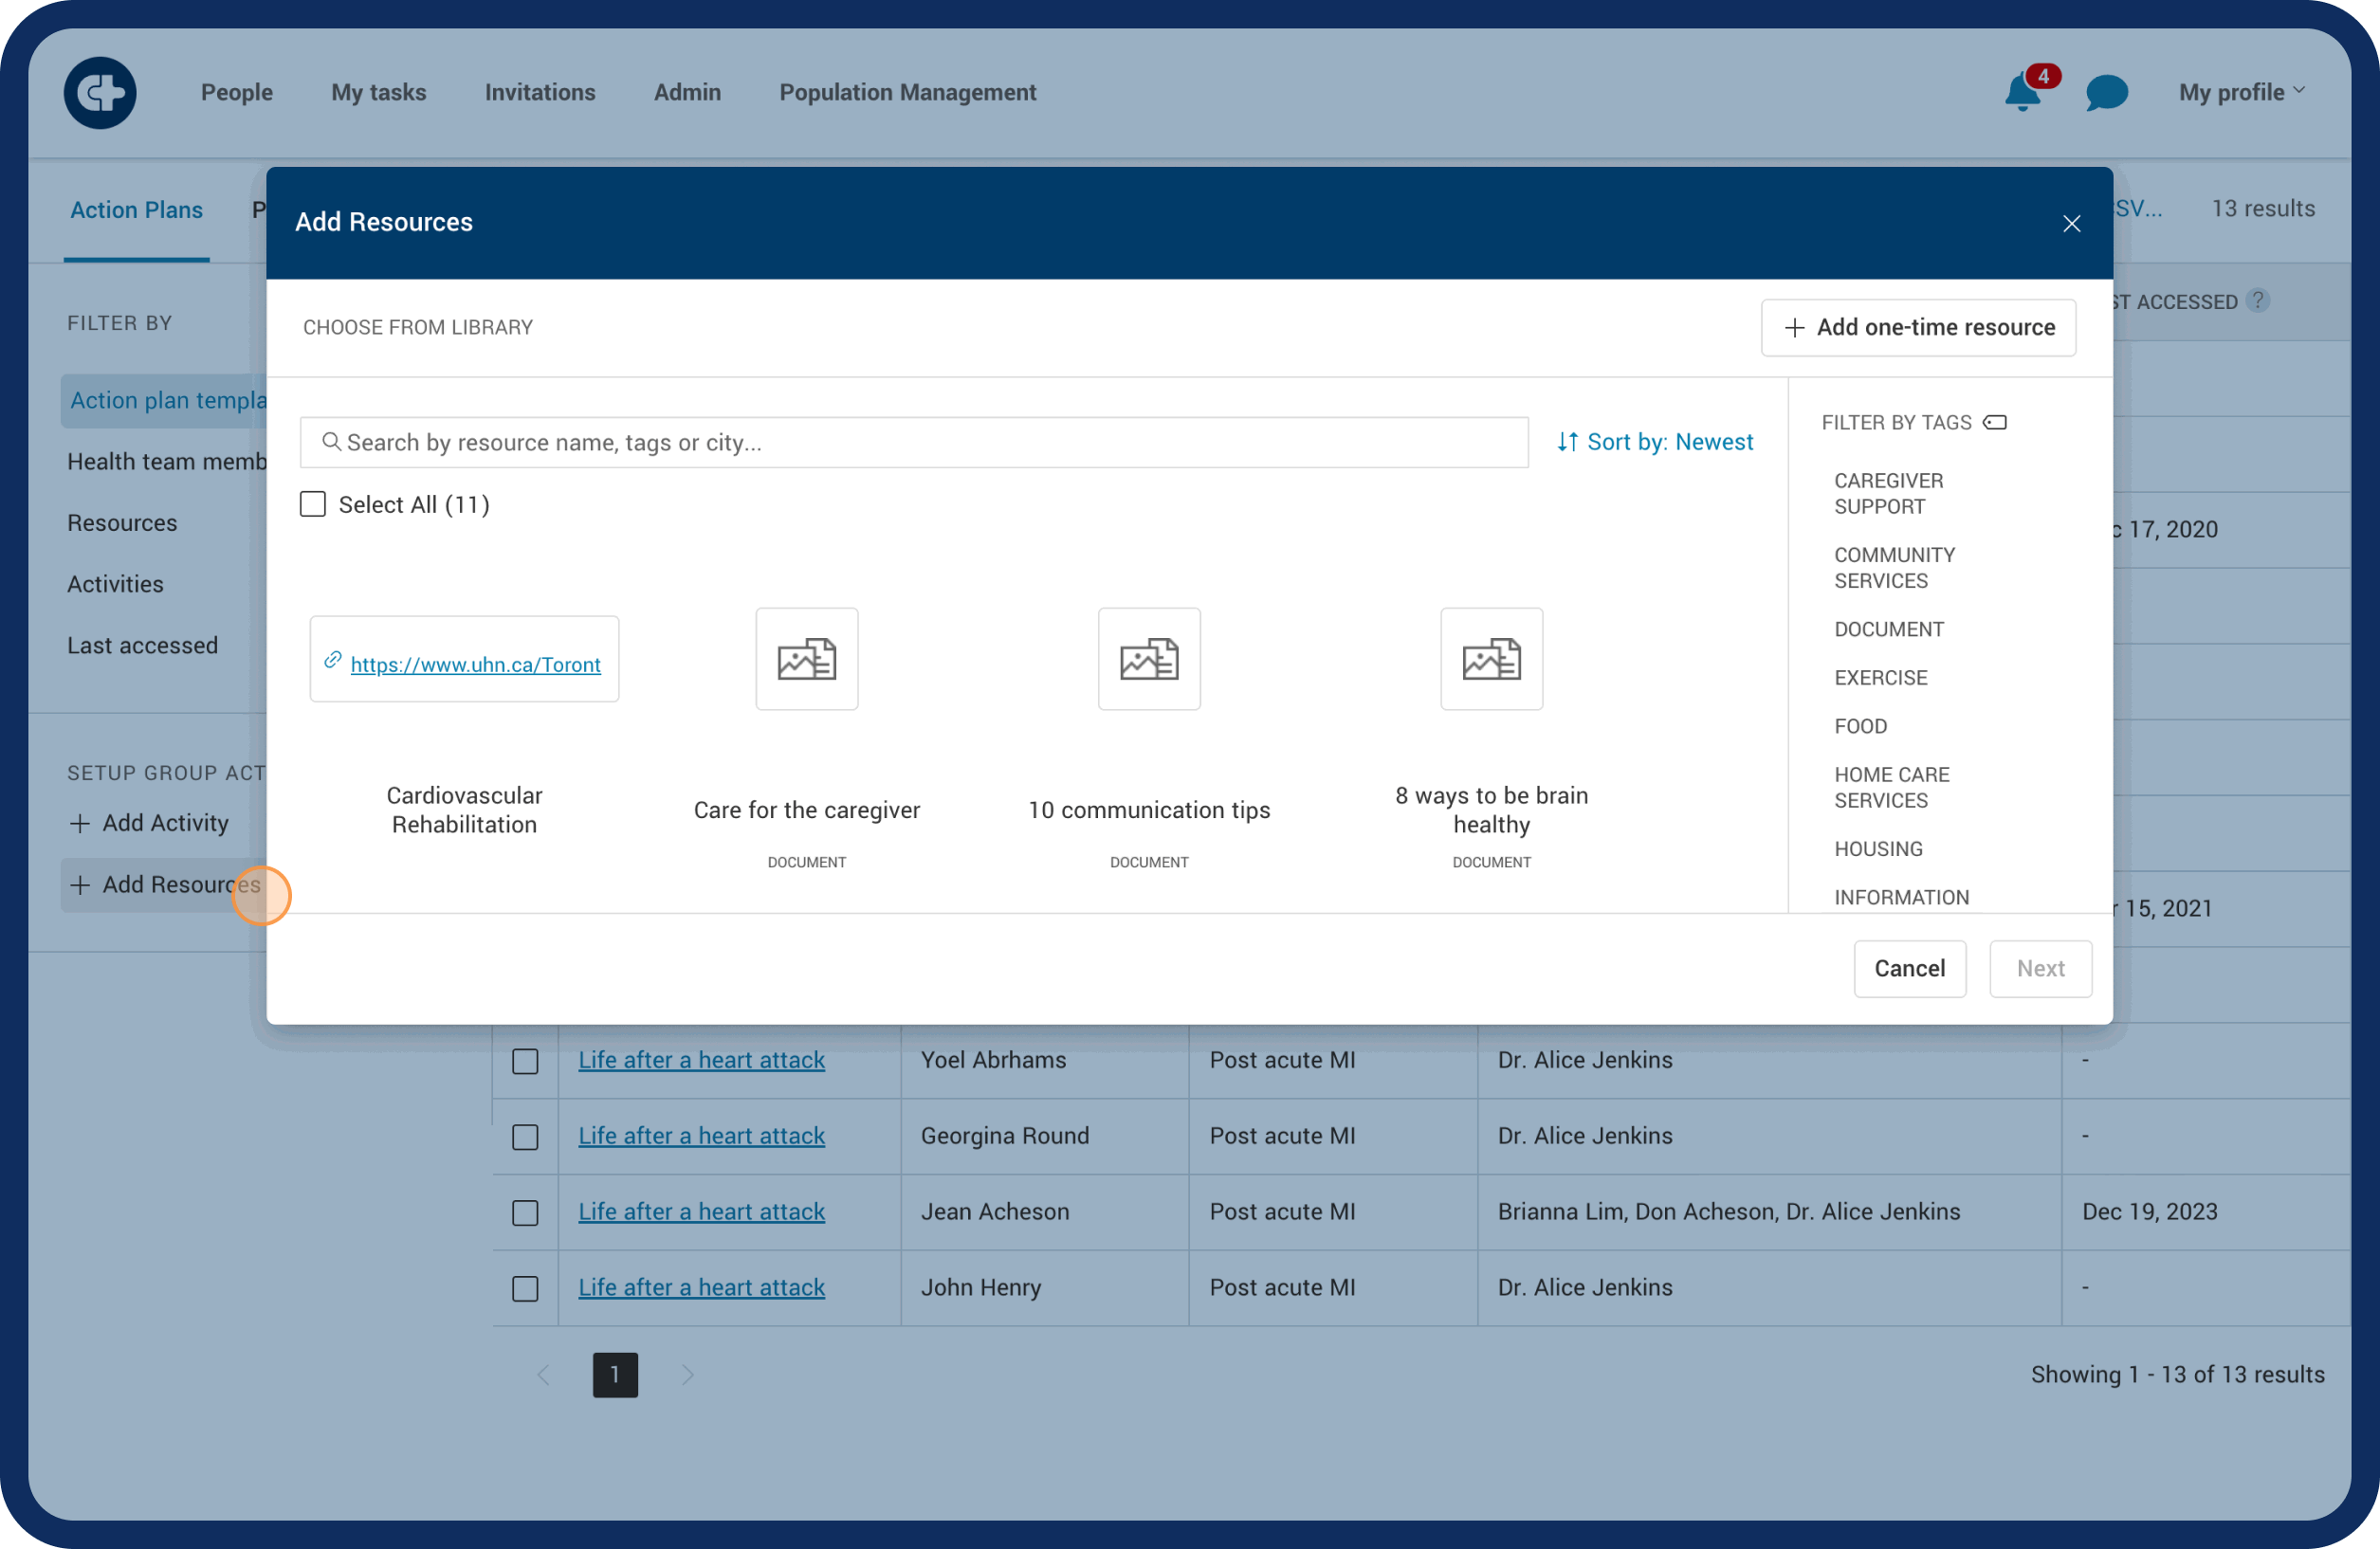
Click '+ Add Resources'.
Choose a resource from your library list or '+Add one-time resource'.
Adding a resource from the library
Select the resource(s) that you want to add and click 'Next'.
Confirm where the '+ Resource' will be added by selecting the boxes. You can choose specific patients or select all.
Review the information and complete the task by clicking 'Yes, add resource'.

Adding a one-time resource (document)
Select the box ‘+ Add one time resource’.
Choose what kind of resource you want to add.
For a document (upload a file from your computer):
Click on the box
Drag the file into the area or click'Upload' to bring up files from your computer.
Click 'Next'.
Confirm where the '+ Document' will be added by selecting the boxes. You can choose specific patients or select all.
Review the information and complete the task by clicking 'Yes, add document'.

Adding a one-time resource (for information such as websites, referrals, and contact information).
Click on the box
Fill out the information about the resource.
Click ‘Next’
Confirm where the '+ Resource’ will be added by selecting the boxes. You can choose specific patients or select all.
Review the information and complete the task by clicking 'Yes, add resource'.
Additionally, when a resource is added, patients will receive a notification about this new addition, allowing them to access and utilize the resource for their benefit.