
This guide introduces the new capability for configuring health team contact information and instructions. You can control who can view this information, such as your team, all invited teams, or just patients. Let's look at the steps:
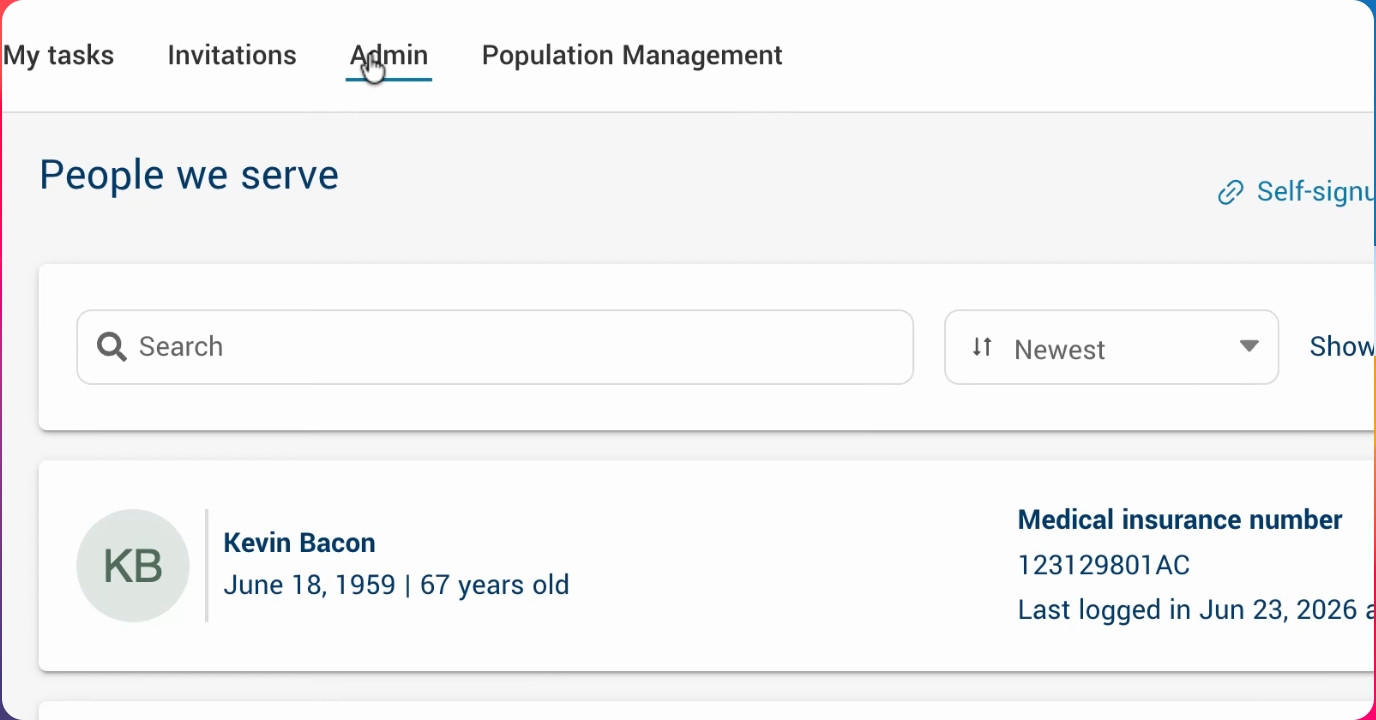
Step 1: Access Team Contact Info
Go to the admin section and select team contact info and instructions.
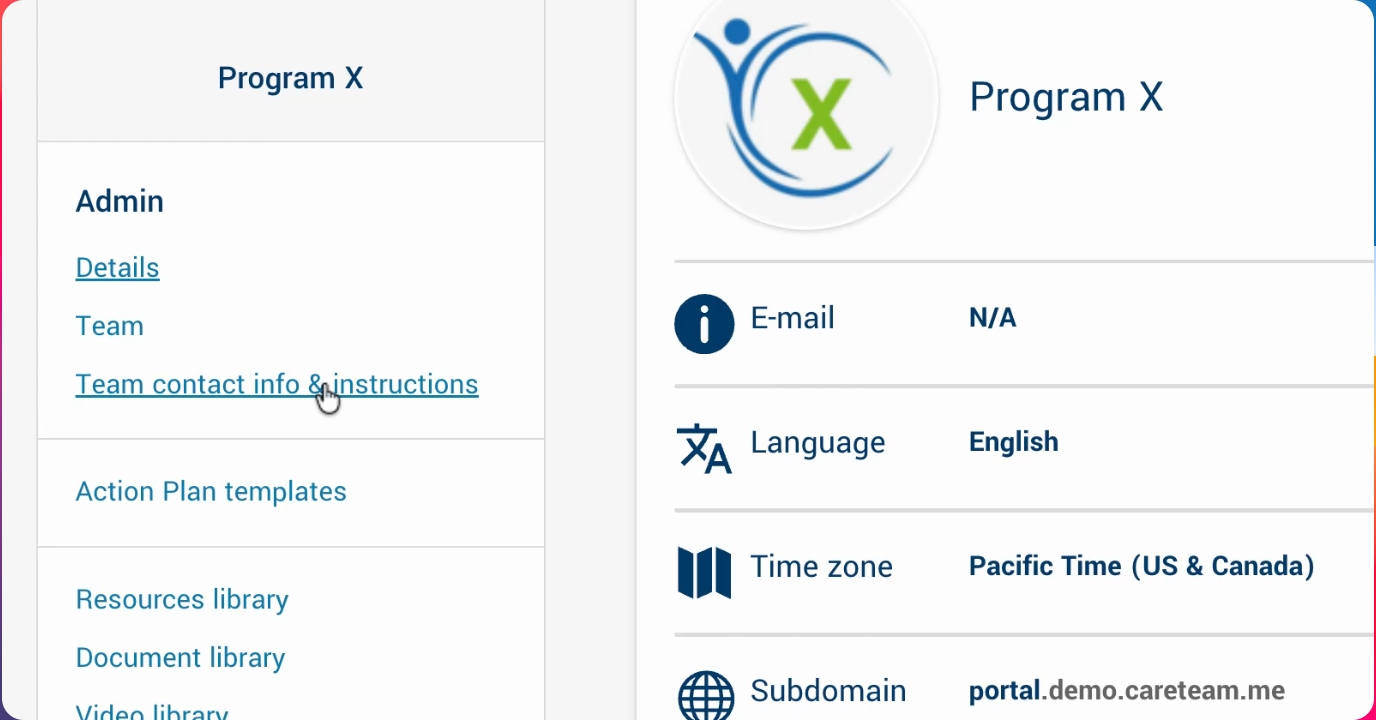
Step 2: Open Configuration Panel
Click into team contact info and instructions to start configuring your health team contact information and instructions. You can also decide if this information should be viewable to everyone, just your team, all invited teams, or just patients.
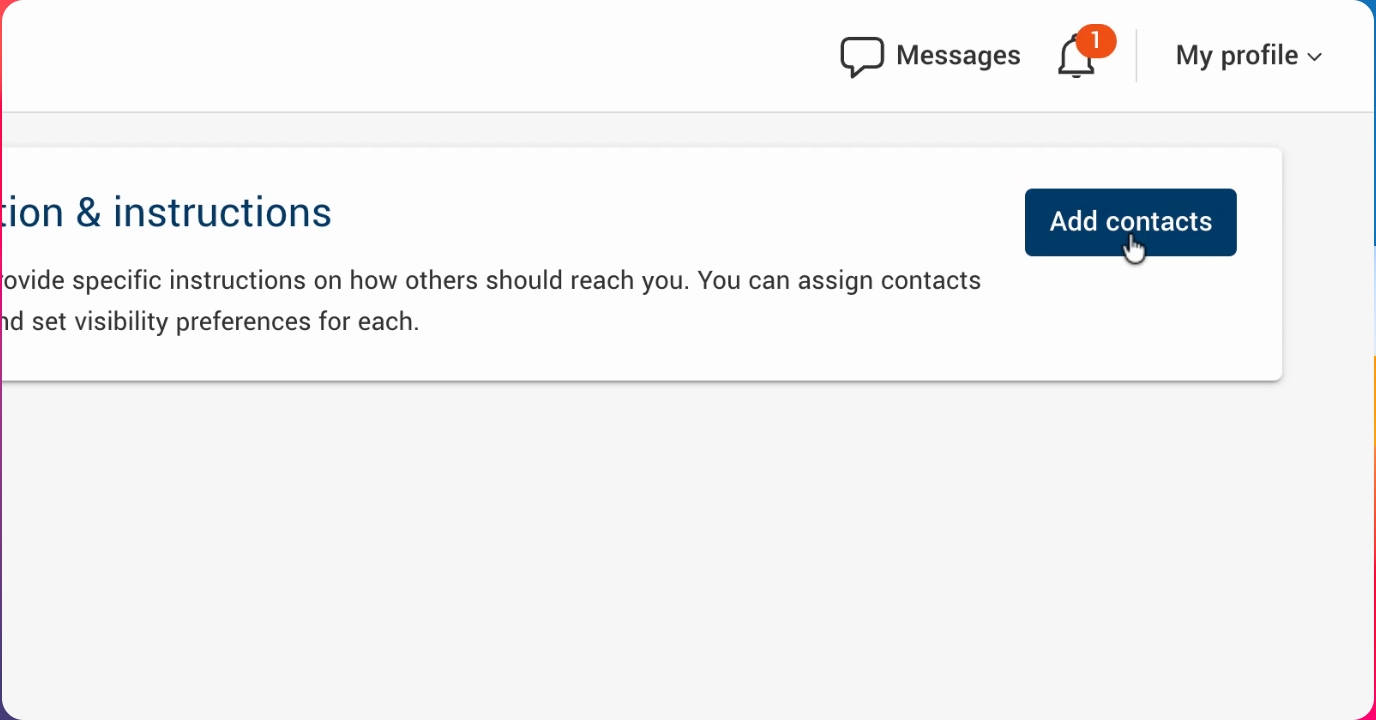
Step 3: Add a New Contact
Click Add Contacts to begin adding a new contact entry.
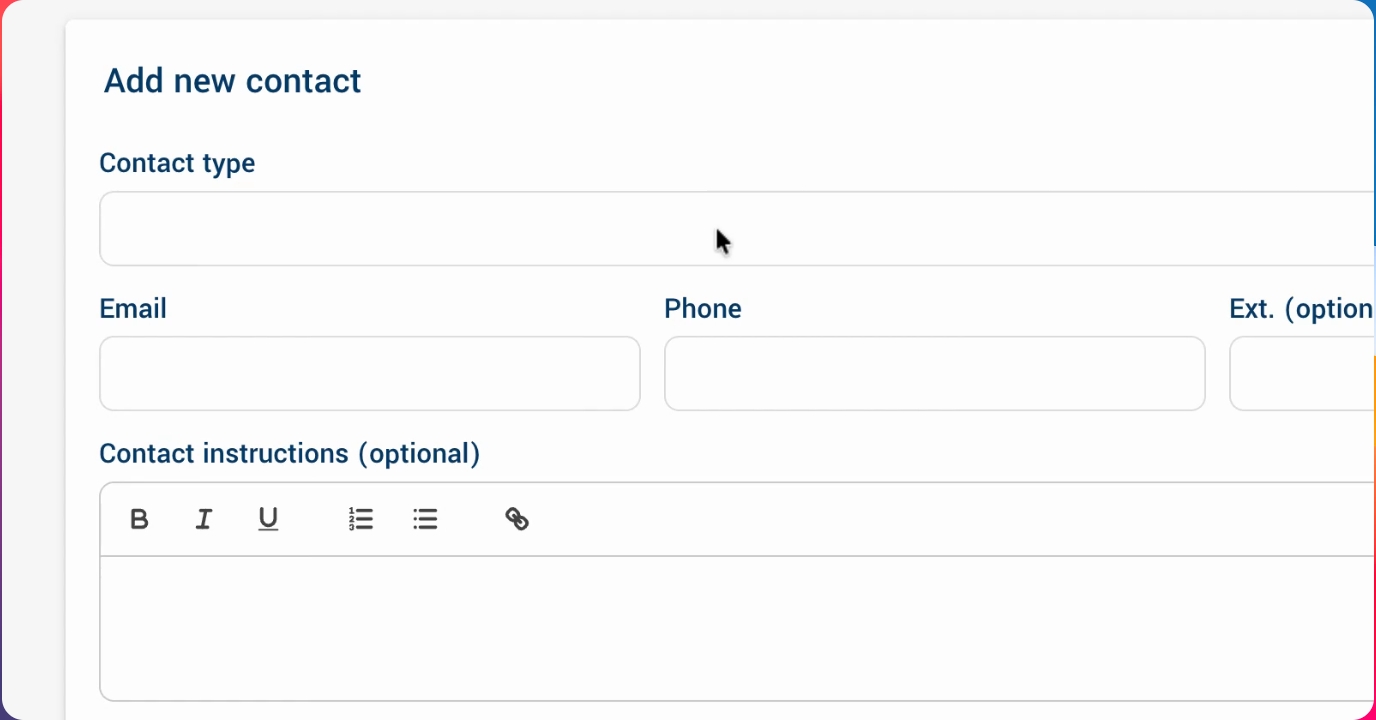
Step 4: Enter Contact Details
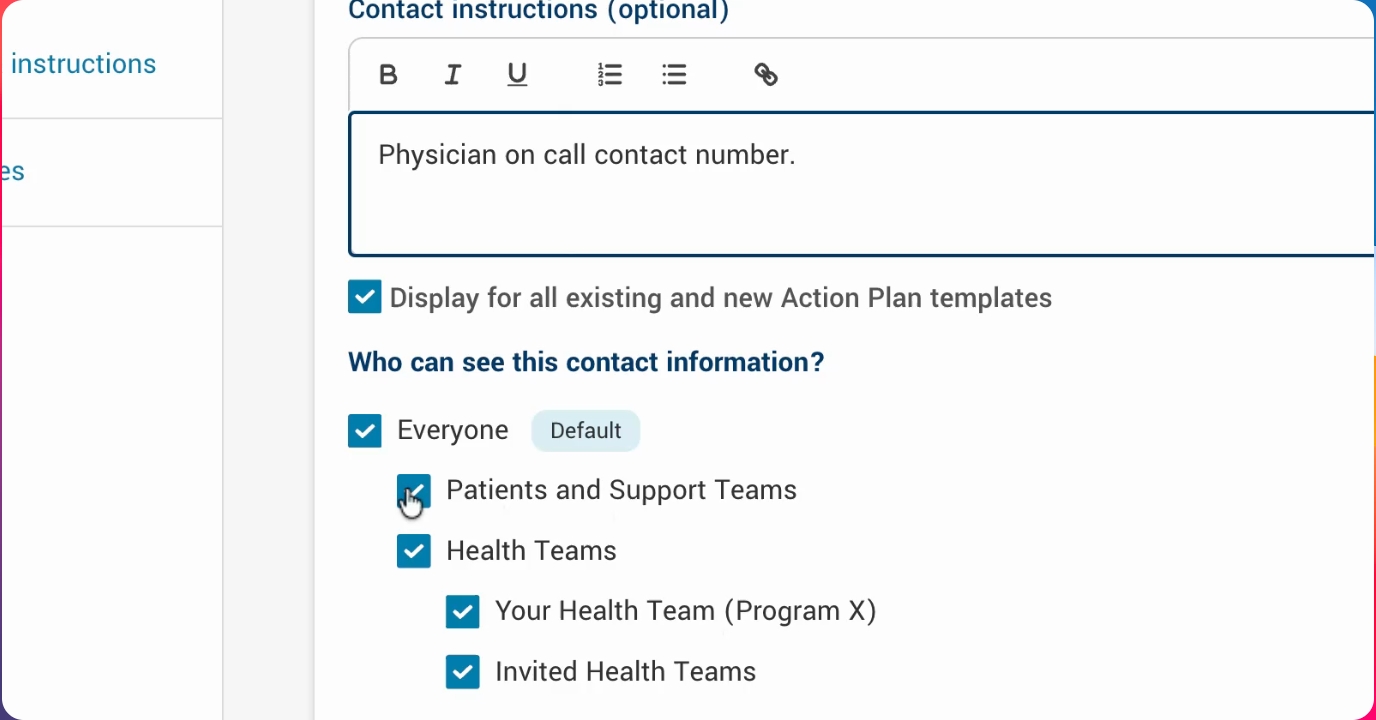
Specify the contact type (such as datetime or a custom type). For example, you might add an on call physician and provide a phone number. You can also include specific contact instructions.
Step 5: Set Visibility Options
Choose who can view this contact information. Options include only health teams within your organization, invited teams, or everyone. You can also associate the contact with specific action plan templates or make it available for all templates.
Step 6: Save and Add More Contacts
Press Save to store the contact. You can continue adding as many health team contacts and instructions as needed, each with its own visibility and template association.
Step 7: View Contacts in Action Plan
After setup, go back into a particular action plan. On the team page, you will see view details beside your organization or another organization. This is where you can find the contact information, such as the on call physician's number. You can copy the number or click it directly if you're on a mobile device.
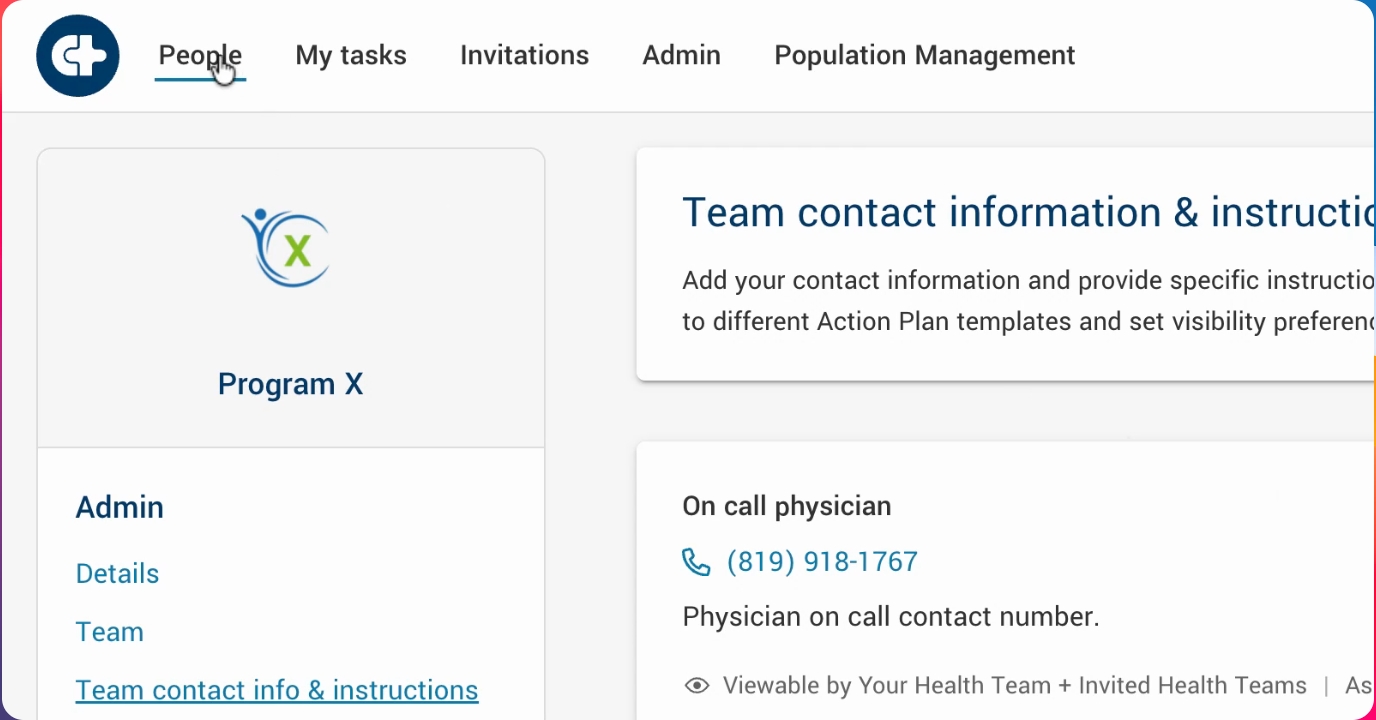
You can also view contact examples for different organizations. This concludes the overview of configuring health team contact information and instructions.
