

The Action Plan Template creator lets you make new templates or edit existing ones for your integrated care initiatives. Let's look at the steps:
Step 1: Access Action Plan Templates
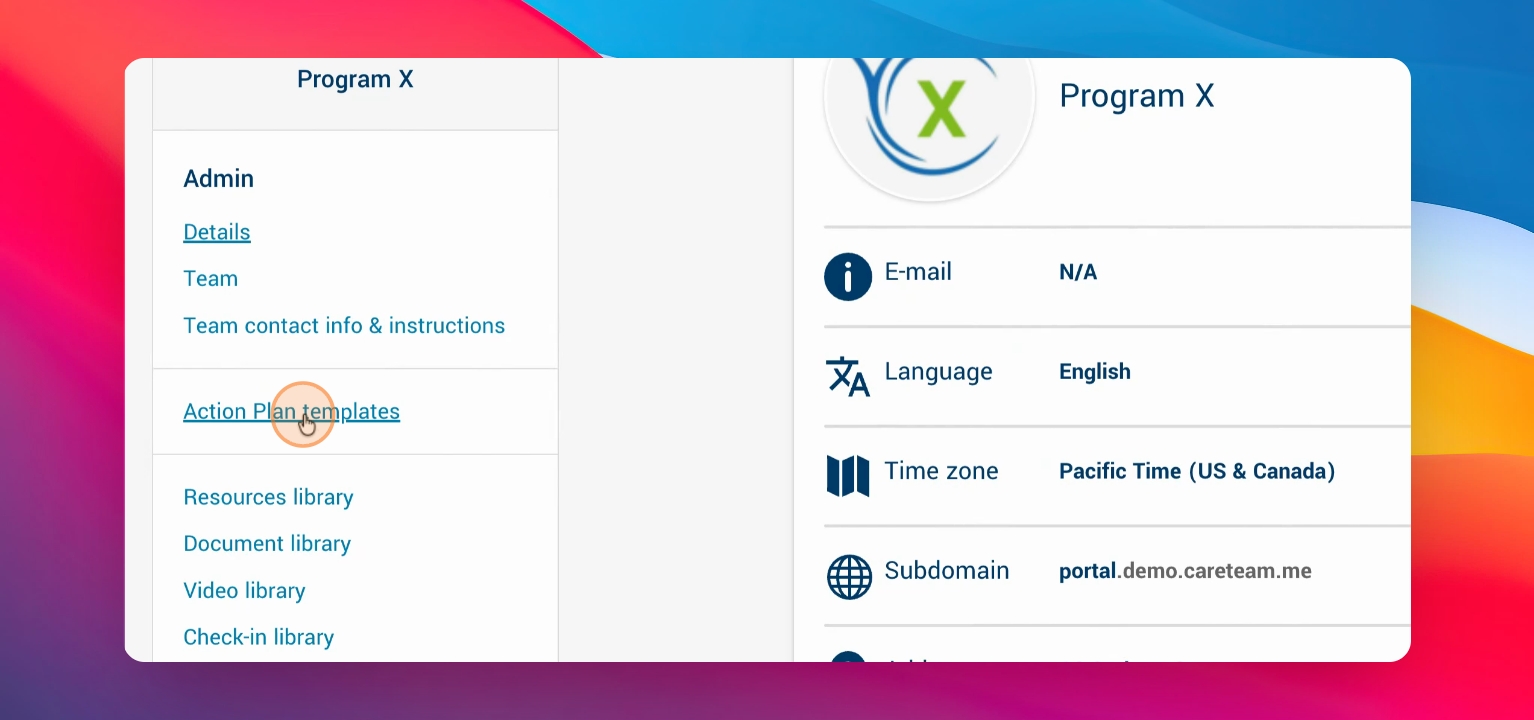
Go to the Admin section and click Action Plan Templates to create new and view your active/archived templates.
Step 2: Create a New Template
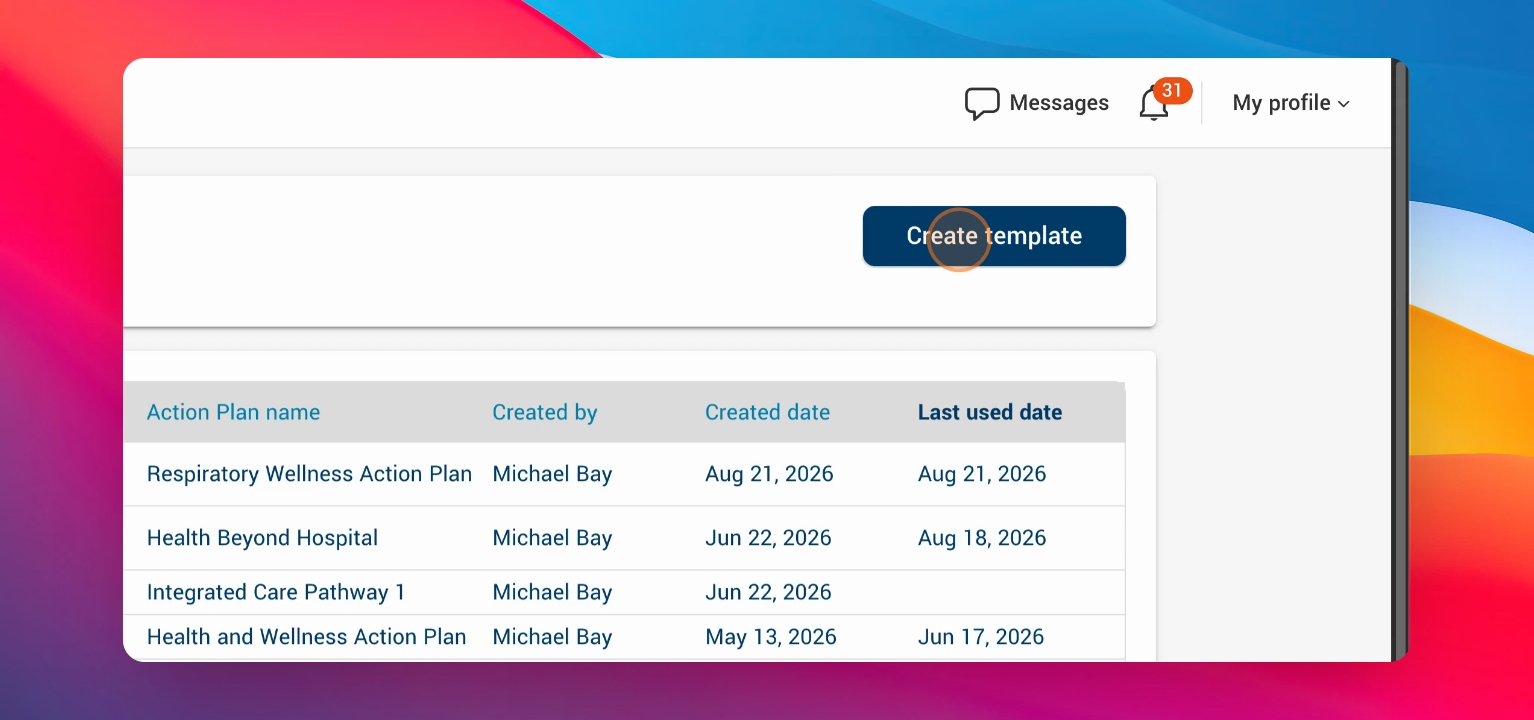
Click Create Template to start a new Action Plan Template.
Step 3: Add Blocks to the Template
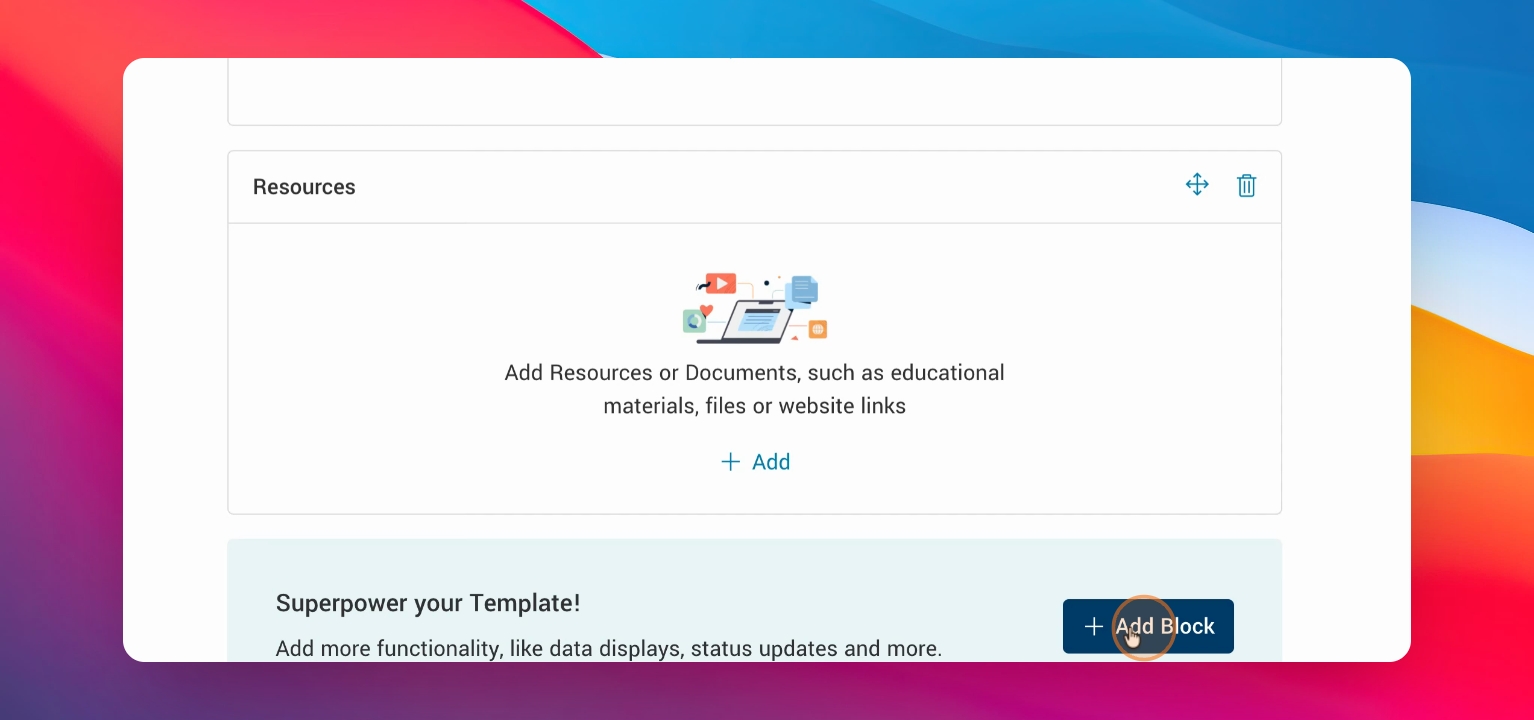
In the Action Plan Template Creator, add blocks to the dashboard as needed for your integrated care initiative. You can move each block to your preferred location.
Step 4: Add More Blocks
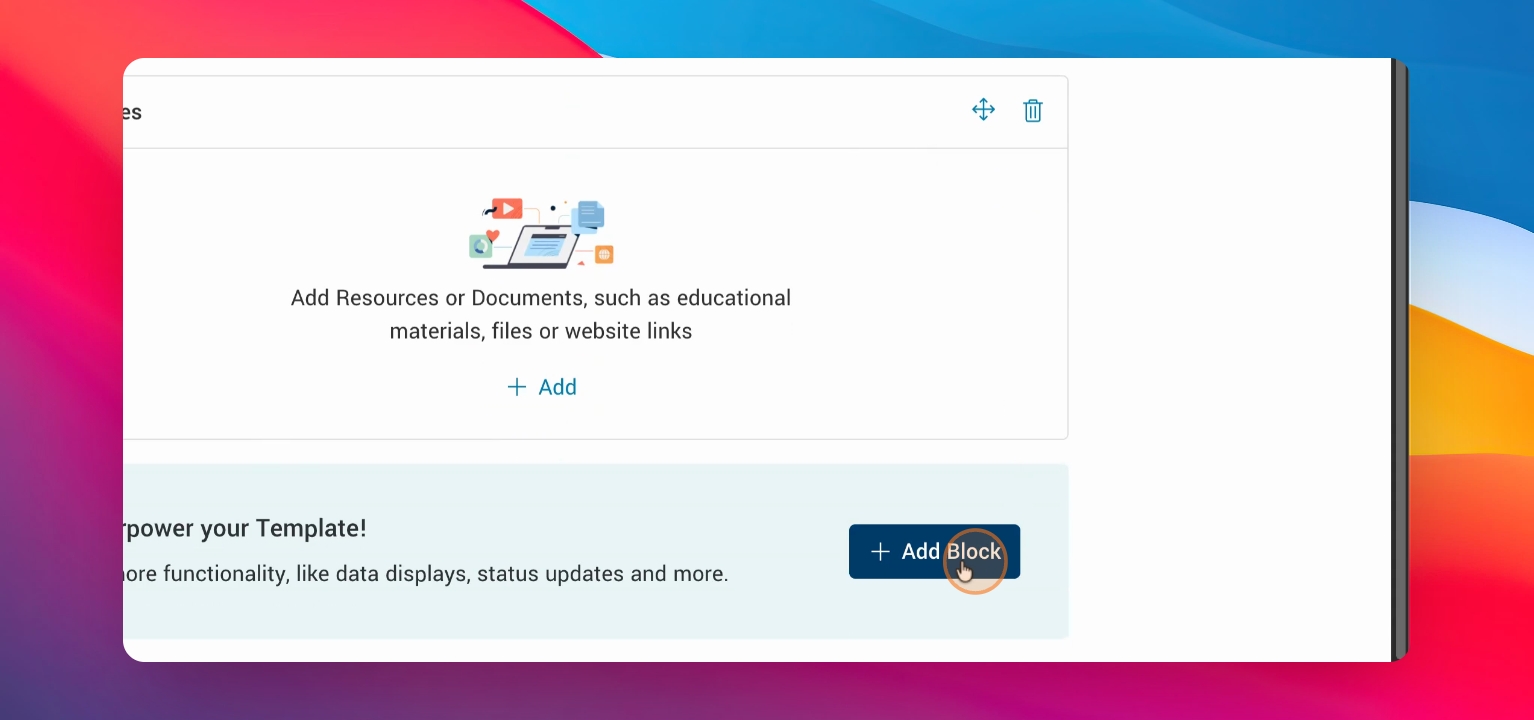
Click Add Block to insert additional blocks, choosing between the main panel and the side panel.
Step 5: Customize Block Content
After selecting your blocks, add information to each one. For example, you can pre-populate content, tasks, appointments, forms, check-ins, or curated resources as needed.
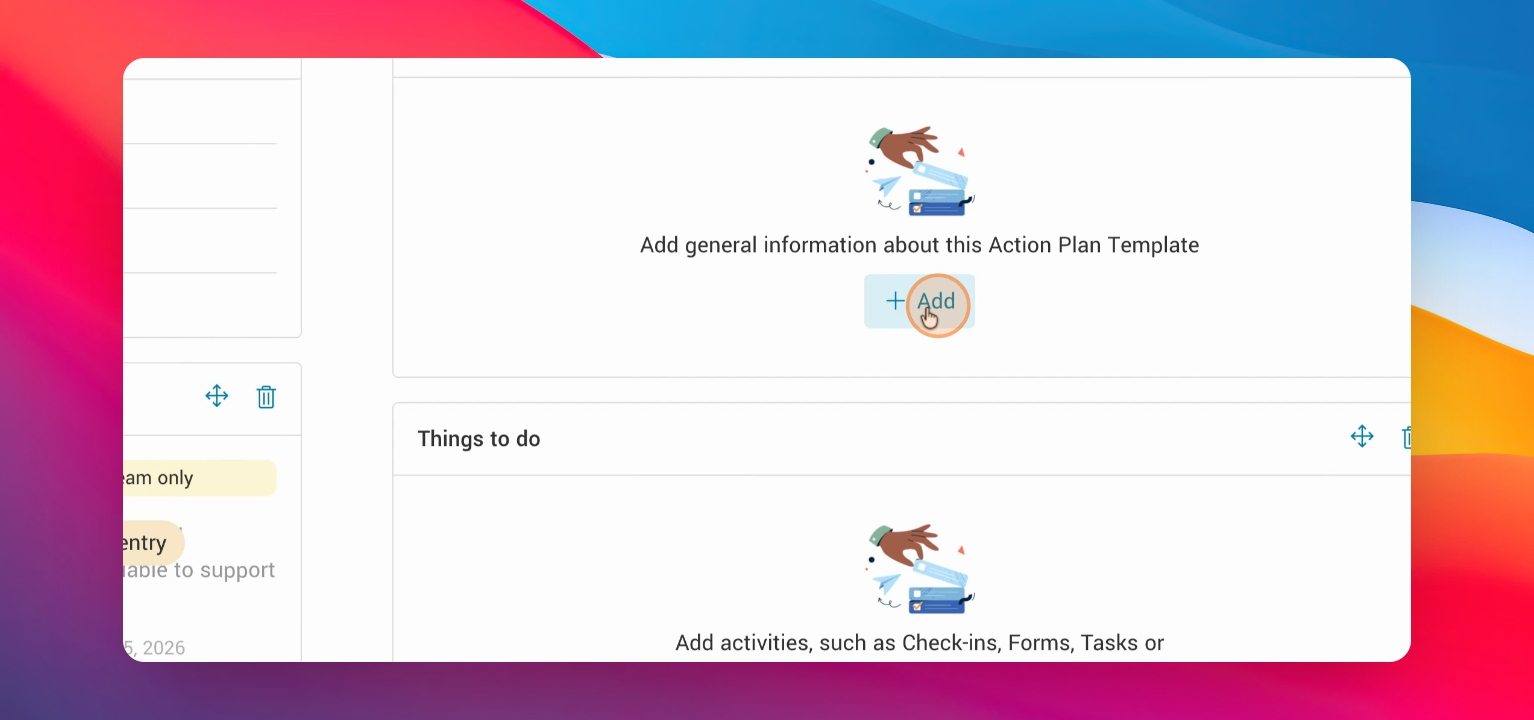
Step 6: Name the Template
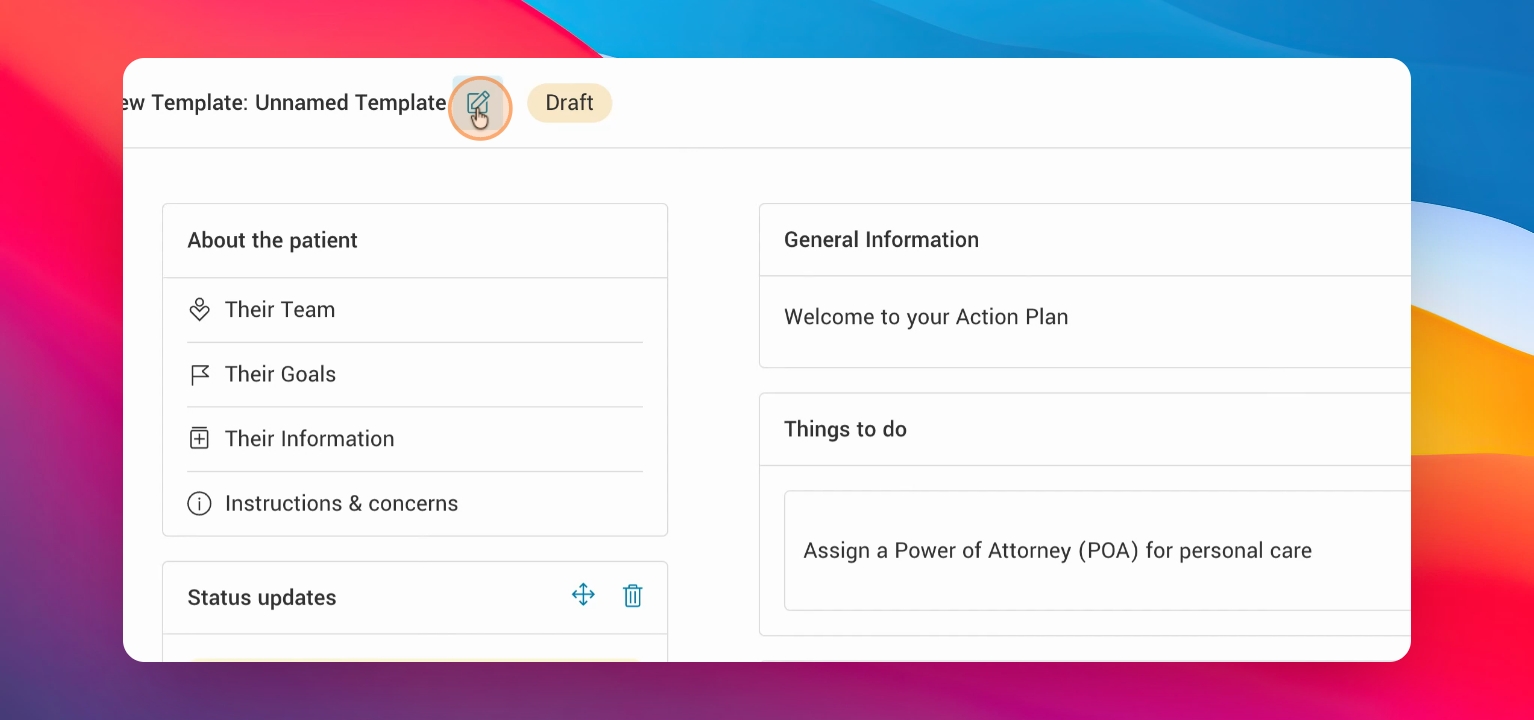
Once ready, give your Action Plan template a name. The template name is used internally and is also visible to patients and families.
Step 7: Publish the Template
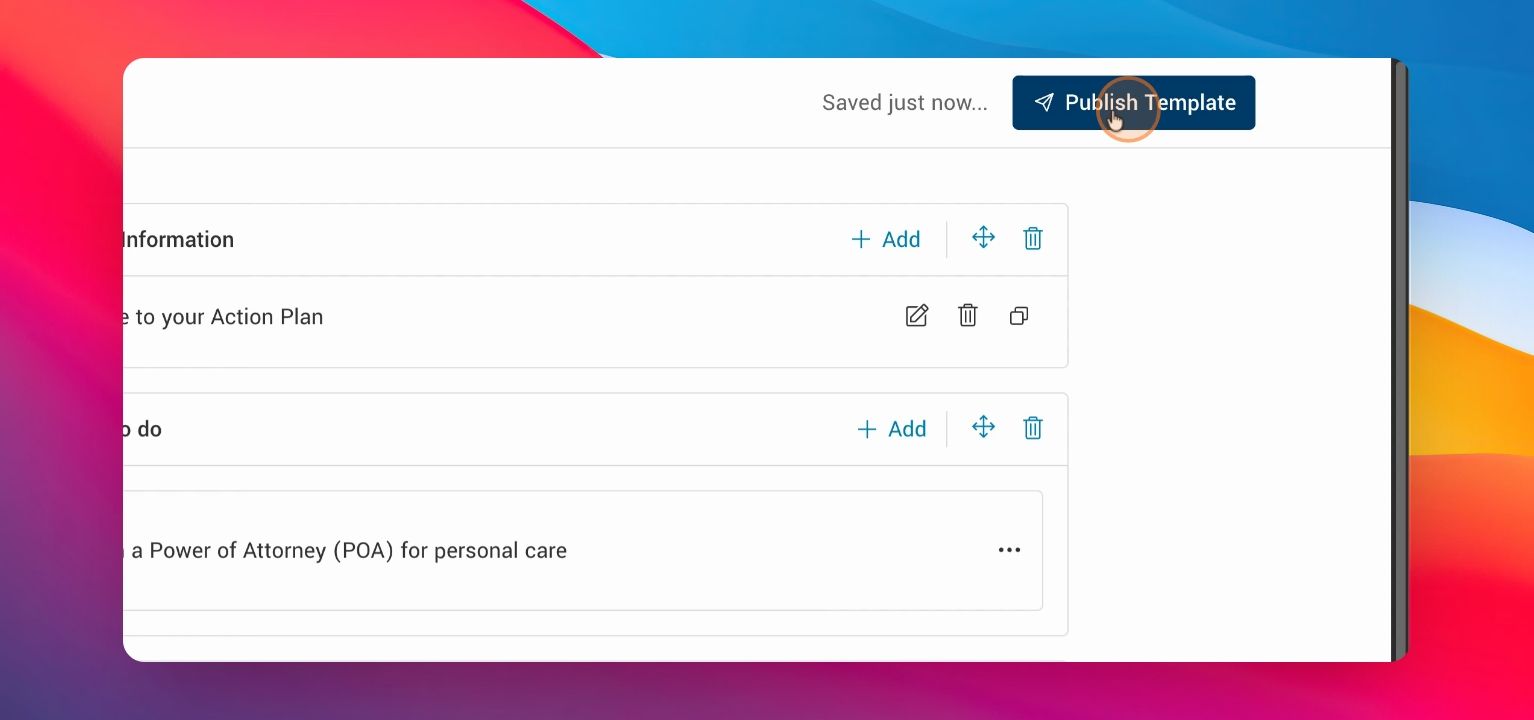
When you're ready, click Publish Template or Save and Publish Now to make the template available for use.
Step 8: Use the Published Template
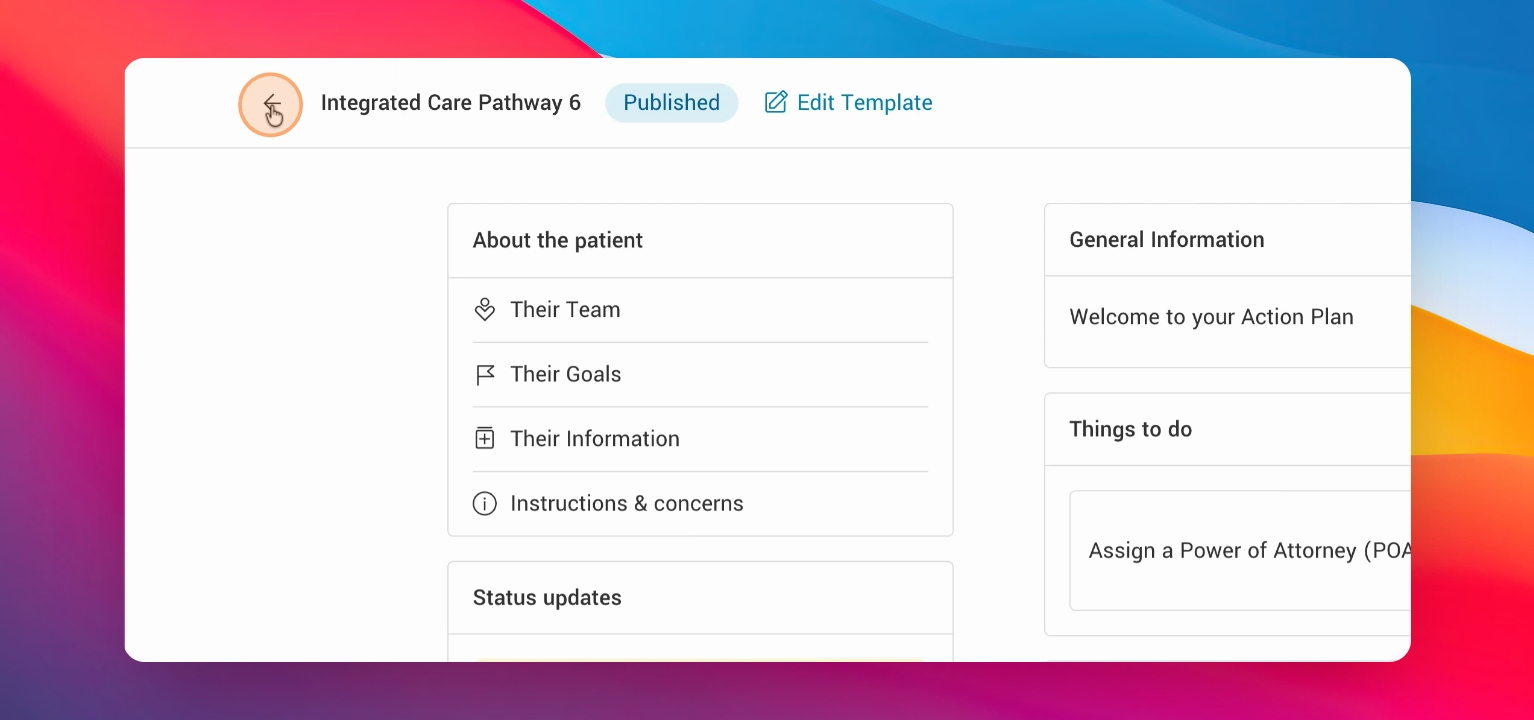
Once published, the Action Plan Template is available for anyone to use.
Step 9: Edit an Existing Template
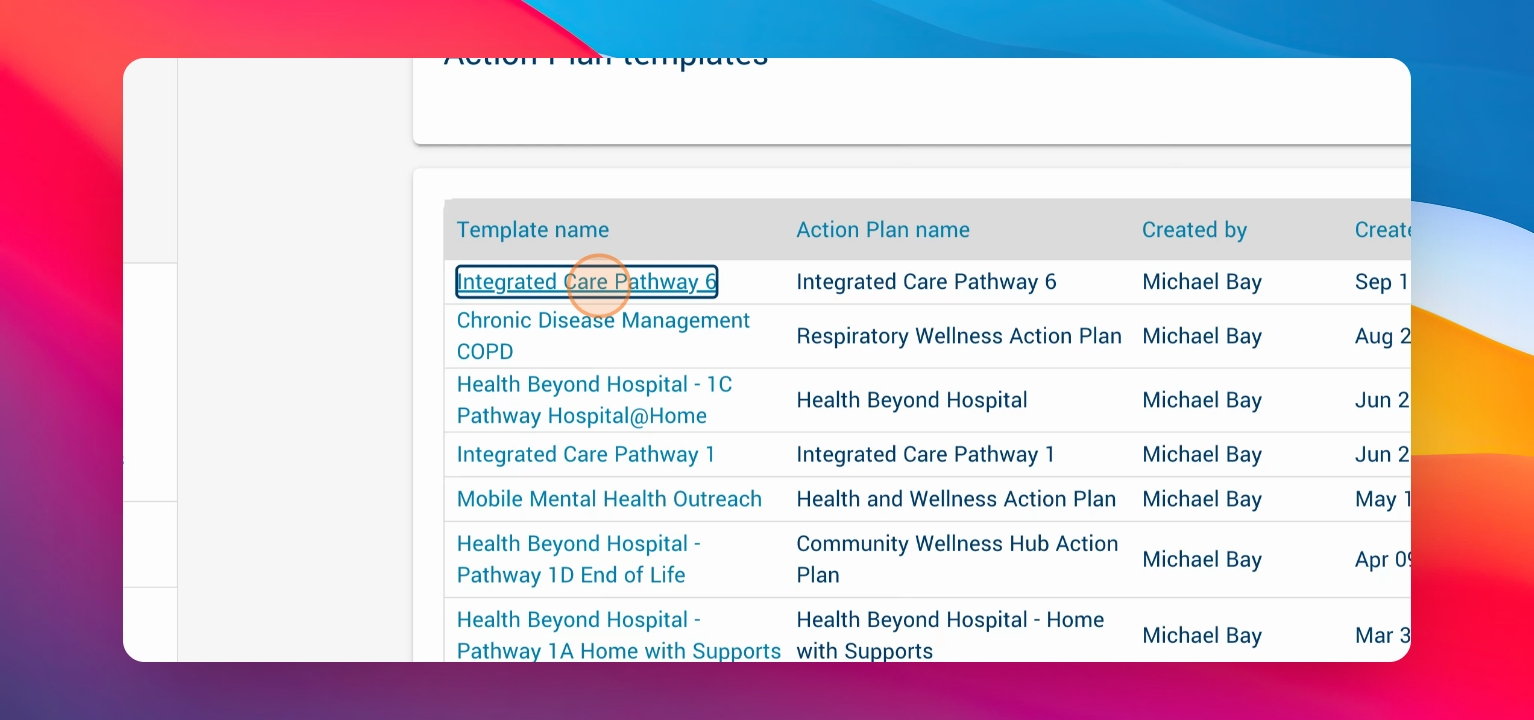
To make changes to an existing template, click into Action Plan Templates, select the template you want to edit, and click Edit Template. Adjust blocks, move items, add notes, or appointments as needed.
Step 11: Publish Changes
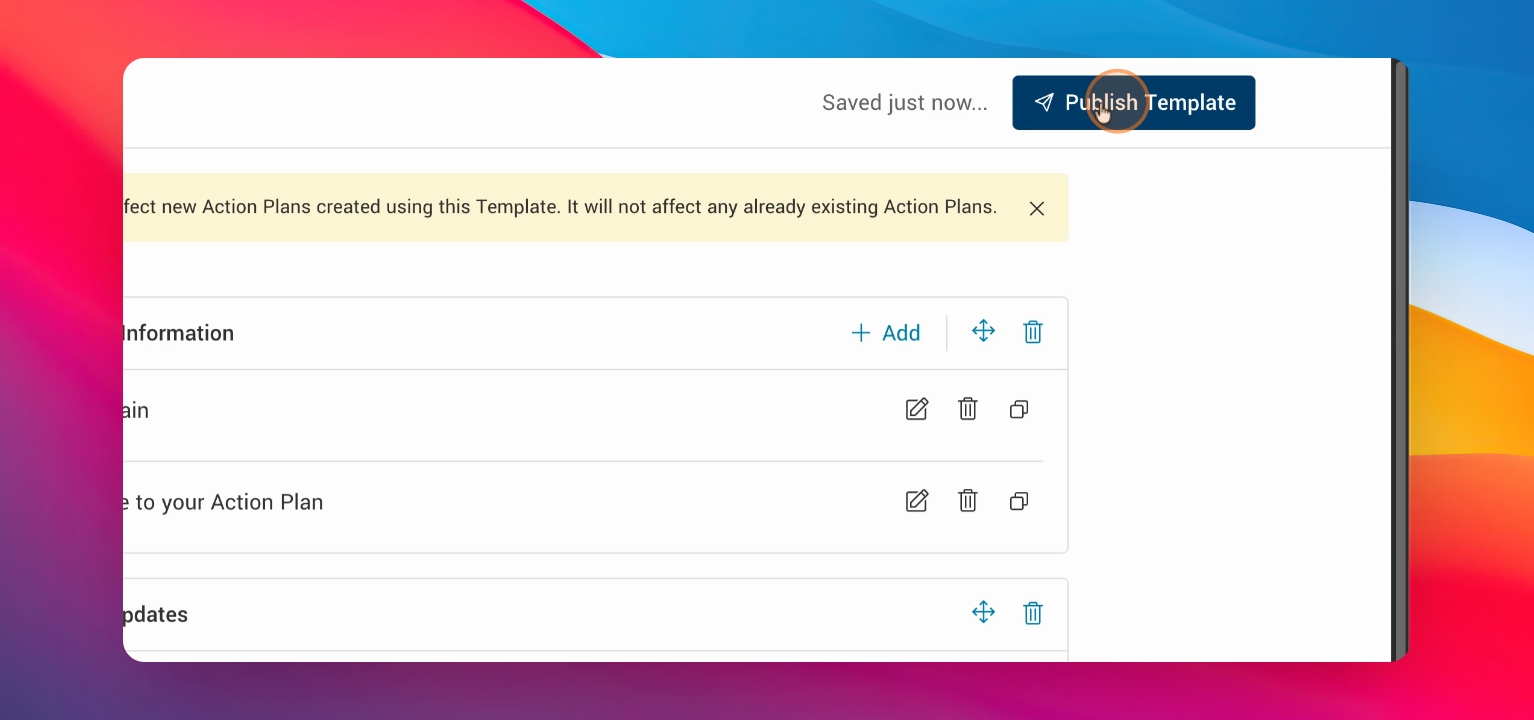
After editing, click Publish Template again to update the template for your team.
The new Action Plan Template Creator streamlines building and updating templates for integrated care.